How to Apply, Remove & Rewear Press-On Nails
Apply to clean, dry, bare nails; press each nail flat rather than sliding it into place; remove by soaking in warm soapy water instead of pulling. Those three things decide most of how a set wears. The rest of this guide covers each stage in order, plus what to do when a nail lifts and how to clean a set so it is ready to wear again.
A considered application helps your press-on nails look better, feel more secure, and return to your wardrobe again.
What comes in your kit
Every AuriGia nail set includes a complimentary application kit:
- Adhesive tabs ×2 sheets, 24 tabs per sheet
- Alcohol pads ×2
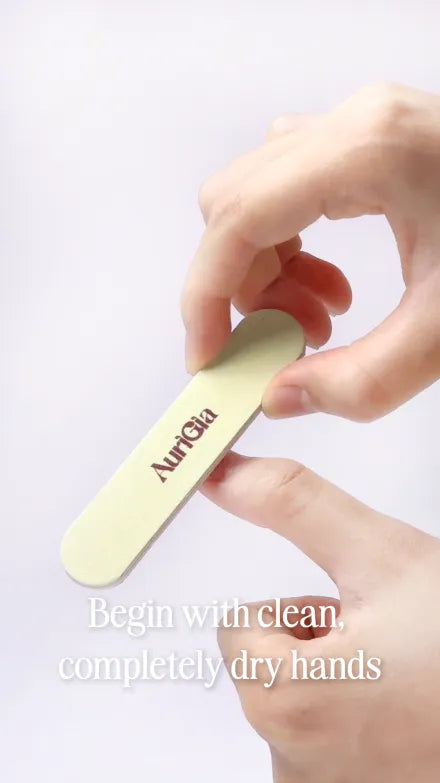
- Nail file ×1
- Cuticle stick ×1
Forty-eight tabs is enough for four full applications with tabs to spare, so a single set arrives ready to be worn more than once. Refills are available if you run out before the nails wear out.
Before you begin
Lay out your set and match each nail to the finger it belongs on before you apply anything. Sizing every finger first is what separates a set that lasts from one that lifts on day two. If you have not measured yet, start with the size guide — fit does more for wear time than any adhesive.
How to prep your natural nails
Apply to clean, dry nails. Any residue — oil, cream, or moisture — sits between the adhesive and the nail and is the most common reason a set lifts early.
- Remove old polish and any previous set, then wash and dry your hands.
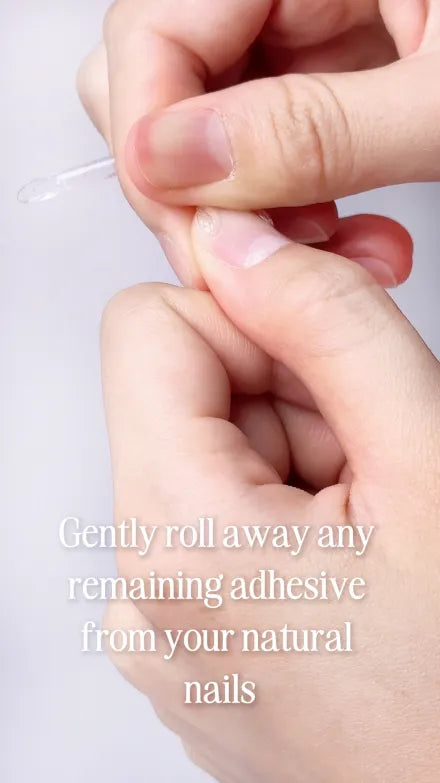
- Push your cuticles back gently with the cuticle stick. This opens up the full nail bed so the press-on can sit close to the cuticle without pressing into it.
- Shape the free edge of your natural nail with the nail file if it extends past your fingertip. A long natural edge under a press-on is a lever, and levers lift.
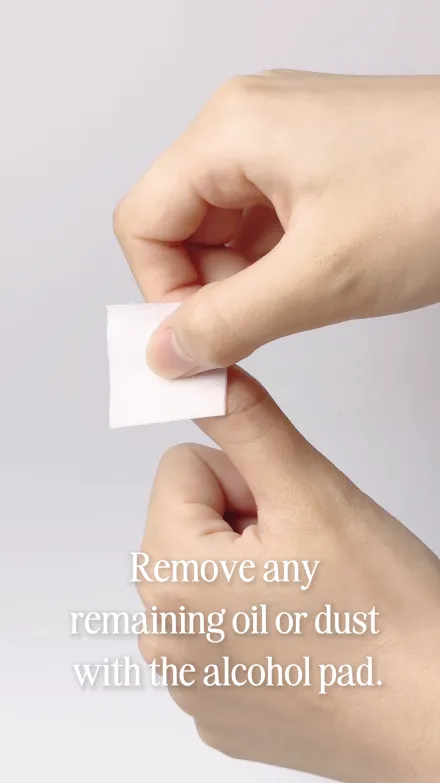
- Wipe each nail with an alcohol pad immediately before application. This is the step people skip. The pad is there to strip the natural oils your skin puts back within minutes of washing — plain water does not remove them.
- Let the nail dry fully before you place anything on it.
How to apply
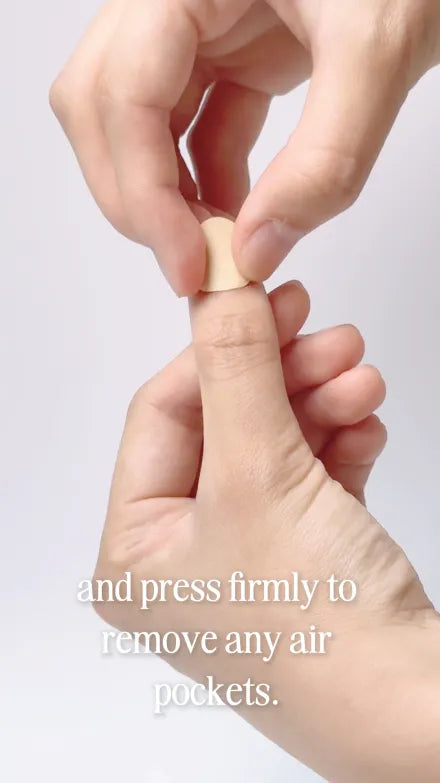
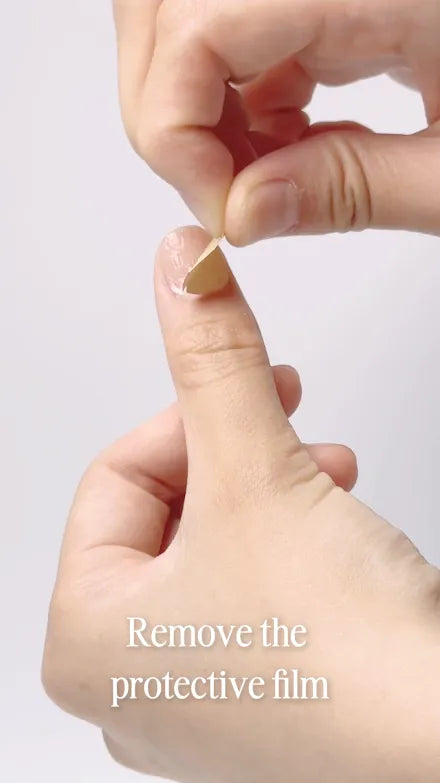
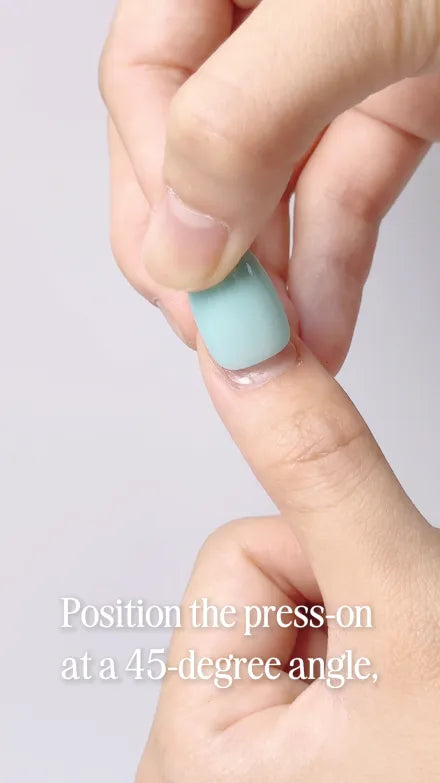
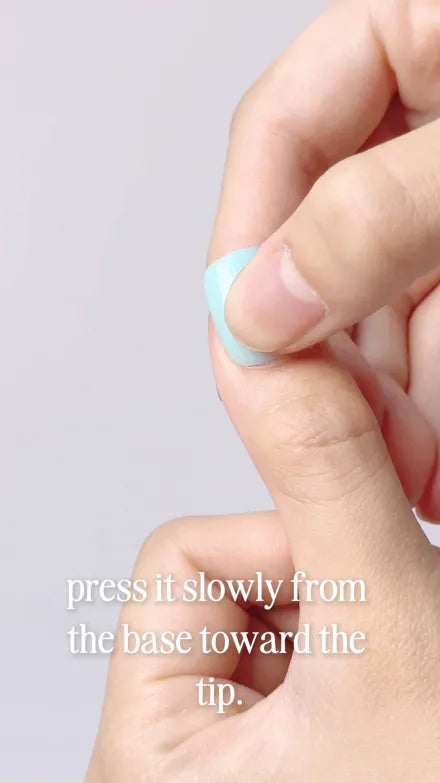
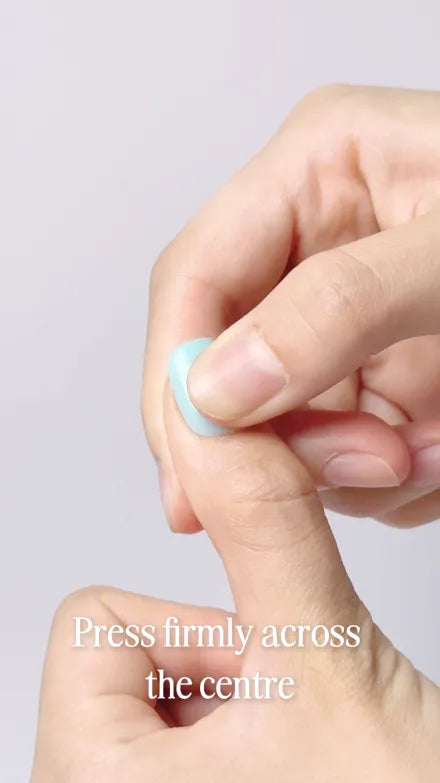
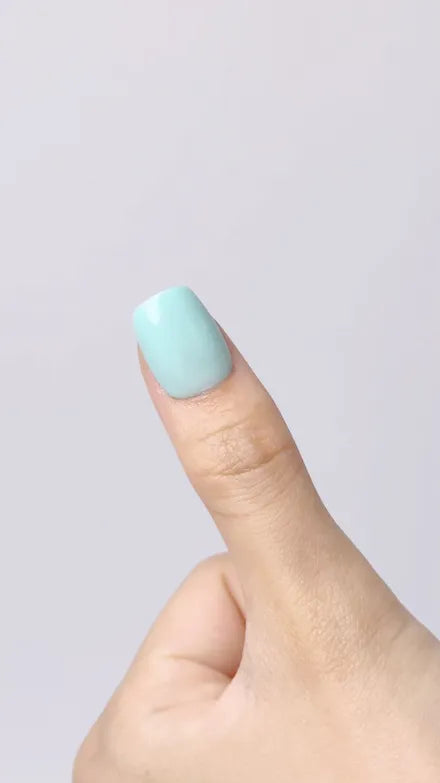
Work one finger at a time, starting from the little finger and moving inward, so your dominant hand stays free for as long as possible.
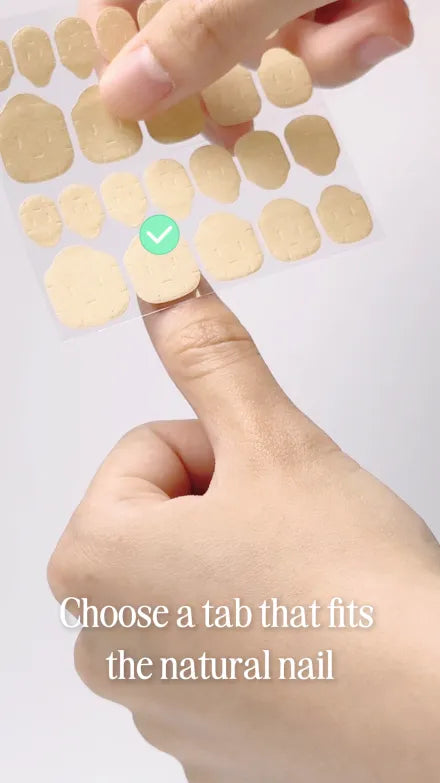
Choose the tab that matches the width of your nail bed, peel it, and set it on the natural nail rather than on the press-on — placing it on the nail first lets you see the coverage.
Press each nail flat and hold it in place. Pressing rather than sliding is what seats the adhesive evenly across the whole nail bed; sliding traps a pocket of air that becomes a lifted corner a day later. Start at the cuticle end and roll the nail down toward the tip so air is pushed out ahead of it rather than sealed in.
Avoid water for a while immediately after application. The adhesive needs time to set, and early contact with water is the single biggest cause of early lifting.
Adhesive tabs or nail glue?
Your kit ships with tabs, and tabs are the right default. They are the gentler of the two options and the reason a set can be reworn: a tab releases cleanly, taking nothing off your natural nail and leaving the press-on intact.
Glue holds harder and holds longer. It is the better choice for a set you want to keep on through something demanding, or for re-securing a single nail that has started to lift. The trade-off is real, though — glue has to be softened off rather than released, removal takes longer, and a set removed impatiently from glue is the most common way both a natural nail and a press-on get damaged.
A practical split: tabs for everyday wear and for any set you intend to rewear, glue for occasions and for repairs. If you use glue, use it thinly. A thick bead squeezes out at the sidewalls, sets proud, and creates the gap it was meant to close.
If a nail starts to lift
Deal with it the same day. A lifted corner lets water and oil travel under the whole nail, and once that has happened the nail will not re-seat cleanly.
Lift the loose edge just enough to slide the old tab out, wipe the natural nail with an alcohol pad, dry it, and re-secure with a fresh tab or a small amount of glue. If the nail was lost rather than loosened, this is what the spare tabs are for.
If the same finger lifts repeatedly, the size is probably wrong rather than the adhesive. Check that nail against the size chart — a nail half a millimeter narrow leaves two open seams at the sidewalls, and that is where lifting starts.
How to remove them safely
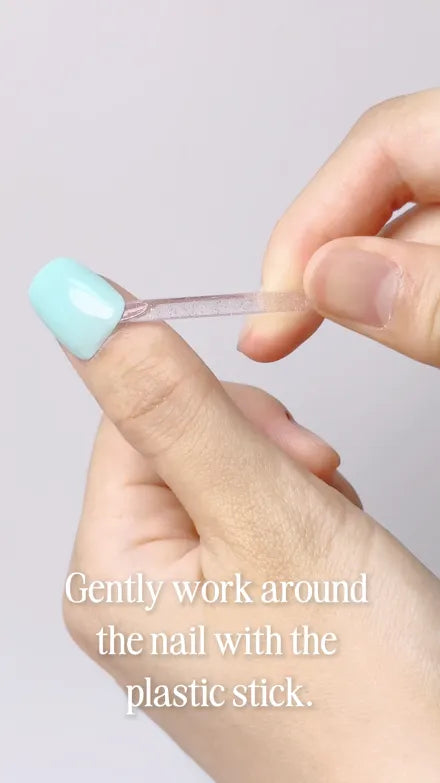
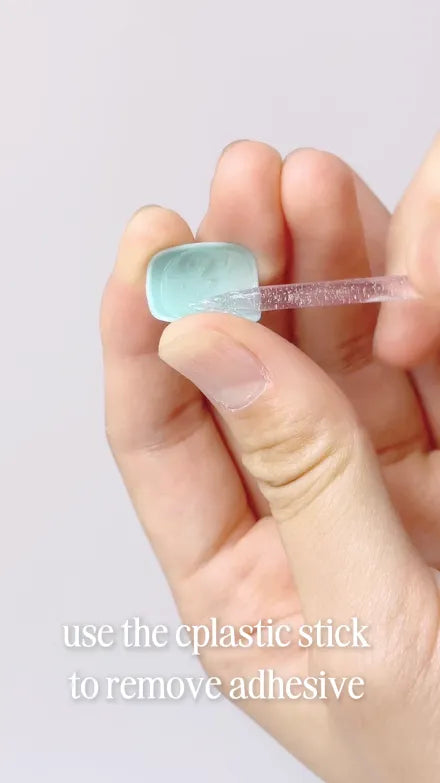
Do not pull or force them off. Peeling a set off takes a layer of your natural nail with it.
Soak your nails in warm soapy water and gently lift once the adhesive has loosened, using the cuticle stick at the edge rather than your other nails. Cuticle oil helps the adhesive release. Work each nail loose in stages instead of in one motion — if it resists, it needs more time in the water, not more force.
Do not use acetone or an acetone-based remover on the nails themselves. AuriGia press-ons are made from ABS, which acetone attacks: it will cloud the finish and soften the nail. Acetone belongs to removing polish from your natural nail before you begin, not to taking a set off.
Applied and removed properly, AuriGia press-on nails are designed to be gentle on the natural nail.
How to clean and store your set
Clean, dry, and store your set after each wear. Removing the old adhesive while it is still soft is far easier than doing it later, when it has hardened onto the back of the nail.
Peel the used tab away from the underside of the press-on. If residue remains, or if you applied with glue, soak the nails in warm soapy water and push the softened adhesive off with the cuticle stick, working from one edge across. Rinse, then let them dry completely before they go away — a nail put back damp will mark.
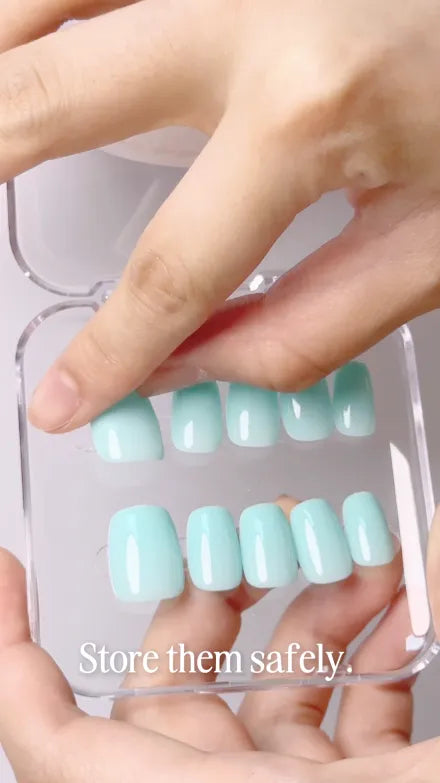
Keep the set in its original tray so each nail stays matched to its size. Store the tray somewhere cool and out of direct sunlight; ABS holds its shape well at room temperature but will not tolerate being left in a hot car or on a sunny sill.
How to reuse your set
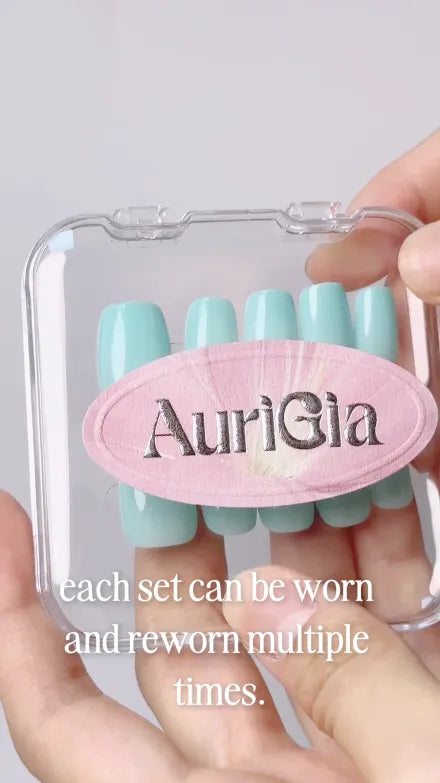
AuriGia press-on nails are designed to be worn multiple times when applied, removed, and stored carefully. Reapply with a fresh adhesive tab or nail glue — never reuse a tab, which has already given up its grip.
Before a second wear, check each nail for residue on the underside and for any roughness at the sidewalls, and smooth it with the nail file if needed.
Caring for beaded and embellished sets
Many AuriGia designs carry hand-set beads and sequins, and those need slightly different handling from a plain set.
- Keep the beaded areas out of long soaks. When removing, let the water work at the nail bed rather than submerging the whole hand for an extended period.
- Pat the set dry rather than rubbing it. A cloth dragged across the beading is what loosens it.
- Keep perfume, hand cream, alcohol and cosmetics off the embellished areas. The alcohol pad in your kit is for your natural nail before application — not for the beads.
- Store beaded sets in their tray so nothing presses against the raised sections.
What decides how long a set lasts
Wearing time depends on your application method and lifestyle. In rough order of how much each one matters:
- Fit. A correctly sized nail seals along the whole sidewall. This outweighs everything else on the list.
- Prep. Whether you wiped with the alcohol pad and let the nail dry, or applied over a trace of hand cream.
- Adhesive. Glue holds longer than tabs; tabs are kinder and reusable.
- Water in the first stretch after application. The adhesive is still setting.
- What you do with your hands. Typing is not the same as gardening.
With proper application and care, each set is designed for multiple wears.
How to make a set last longer
- Apply to clean, dry nails, and avoid water immediately afterwards
- Avoid using your nails as tools
- Avoid long soaking, especially soon after application
- Keep oils and creams away from the adhesive edges
- Wear gloves when cleaning or washing dishes
- If lifting starts, re-secure it early with nail glue or an adhesive tab
Showers, the gym, dishes and travel
Showers are fine once the adhesive has set; keep them short and pat your hands dry afterwards rather than leaving them wet. Washing up and cleaning are the two things worth putting gloves on for, because they combine hot water, detergent and a long exposure. At the gym, watch the grip work — bars and dumbbells load the free edge of the nail, which is exactly the direction a press-on does not want to be pushed. Travelling, take the tray and a few spare tabs; a lifted nail on the road is a two-minute repair if you have them and a lost nail if you do not.
Common mistakes
- Applying to a nail that is not fully dry. The most frequent cause of early lifting. Wipe with the alcohol pad, then wait.
- Skipping the sizing step. A nail that is too small leaves the edges exposed and lifts sooner. Measure once, and the sizes carry across the collection.
- Sliding instead of pressing. Sliding traps air under the nail. Roll it down from the cuticle instead.
- Forcing removal. Damages the natural nail and usually ruins the press-on too. If it resists, put it back in the water.
- Using acetone to take a set off. It clouds and softens ABS. Warm soapy water is the method.
- Reusing an old tab. It has already given up its grip. Use a fresh one; the kit has 48.
Questions about wear and care
Can I shower with press-on nails on?
Yes, once the adhesive has set. Keep showers short in the first stretch after application, and pat your hands dry rather than leaving them damp.
What should I do if one nail pops off?
Wipe the natural nail with an alcohol pad, let it dry, and re-secure with a fresh tab or a little glue. Do it the same day rather than waiting.
Can I use nail glue instead of the tabs?
Yes. Glue holds longer, but it has to be softened off in warm soapy water rather than released, and a set is easier to rewear when it was applied with tabs.
Can I trim or file the nails?
You can file the sidewalls to refine the fit and smooth the free edge with the file in your kit. File rather than clip, and work in light strokes.
Do press-on nails damage your natural nails?
Not when applied and removed properly. The damage people describe almost always comes from peeling a set off, or from forcing one that needed longer in the water.